You’ll get better restaurant kitchen lighting by using LED fixtures that stay cool, spread light evenly, and cut glare across prep, cook, and dish areas. Aim for 4,000K to 5,000K with CRI 80+, or 90+ where color matters most, so food looks true and eyes stay fresh. Choose IP65 or higher in wet zones, and match brighter output to prep stations, with softer light in storage. Keep going, and you’ll see how to map each zone.
Key Takeaways
- Use bright, uniform LED lighting to reduce shadows and glare across prep, cooking, and cleaning zones.
- Target 4,000K–5,000K color temperature with 80+ CRI, ideally 90+, for accurate food appearance and alertness.
- Match brightness to task needs, using higher output for prep areas and lower output for storage and walk-ins.
- Choose dimmable fixtures to adjust light levels during slower service and reduce eye strain.
- Install IP-rated, sealed LED fixtures in wet, greasy, or steam-heavy areas for reliable visibility and easier maintenance.
Why LED Works in Commercial Kitchens
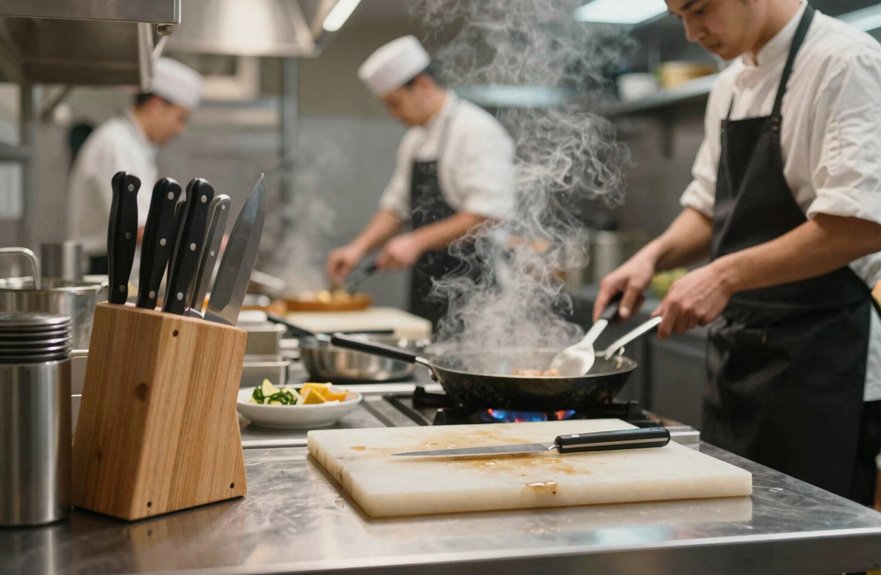
When you’re choosing lighting for a commercial kitchen, LED is often the smartest place to start because it runs cooler than older fixtures, which helps lower heat in an already busy work area and supports safer operation in high-moisture, high-humidity spaces.
You get better heat management without sacrificing performance, so your team can move with more freedom and less discomfort.
LEDs also give you uniform illumination that cuts shadows and glare reduction, which helps you see clearly at every prep station.
Their long service life means fewer ladder trips, fewer bulb swaps, and less downtime when your schedule is already packed.
If you need a sealed washdown design, many LED fixtures can handle grease, moisture, and regular cleaning, so your kitchen stays ready for action.
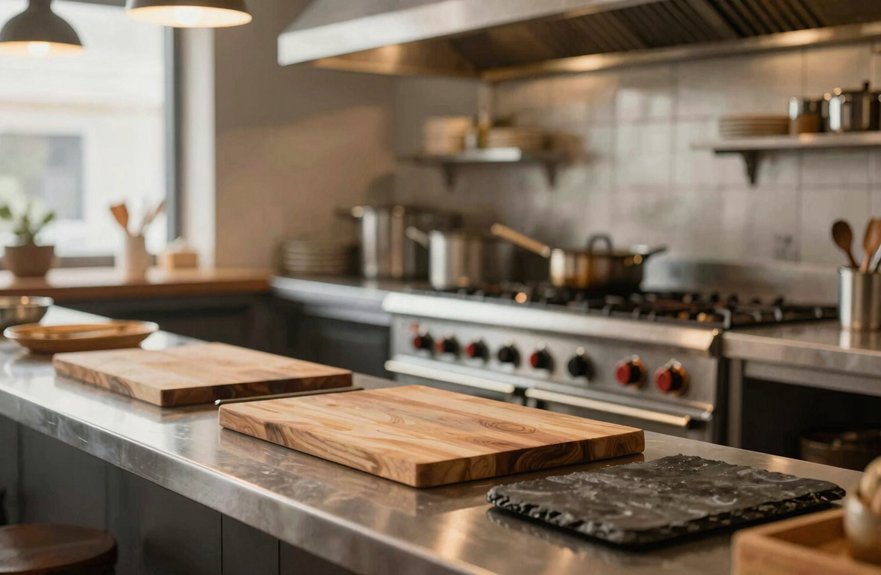
How Bright Kitchen Lighting Should Be
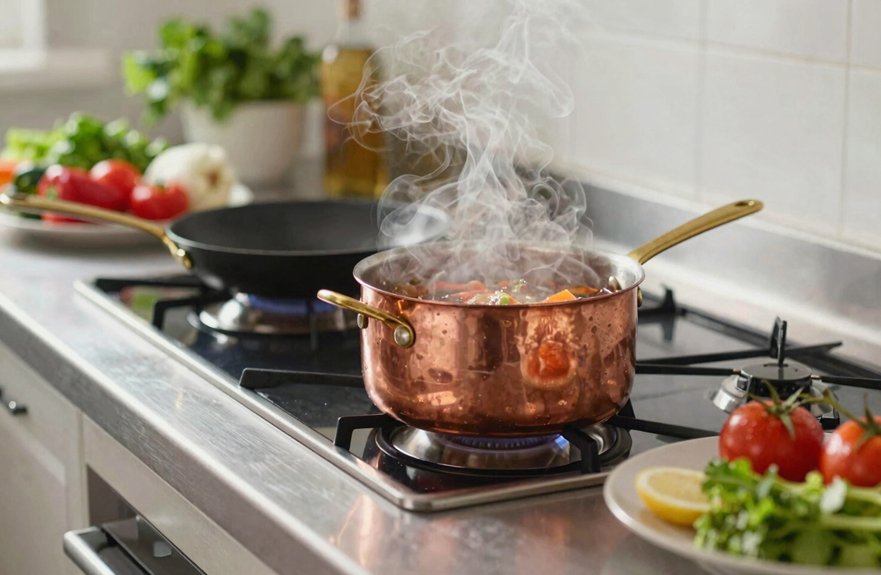
For a commercial kitchen, the right brightness does more than help you see—it helps your team work safely and stay focused without feeling worn out. Aim for 50–100 foot-candles in prep areas, which usually means 5,000–8,000 lumens per fixture, depending on room size and ceiling height. In cooking zones, 4,000–6,000 lumens often works well, with fixtures placed to support task illumination without sitting directly over heat unless they’re rated for it. Storage and walk-ins can run softer, around 2,000–4,000 lumens.
| Area | Brightness Guide |
|---|---|
| Prep | 50–100 foot-candles |
| Cooking | 4,000–6,000 lumens |
| Storage | 2,000–4,000 lumens |
Good glare control keeps your eyes relaxed, and dimmable lights let you match output to the pace, so you keep freedom and energy.
Choose the Right Color Temperature and CRI
A smart kitchen light isn’t just bright—it also needs the right color, and that’s where color temperature and CRI come in.
In your kitchen, aim for 4000K–5000K, because that cool-to-neutral light mimics daylight and keeps your team alert through long shifts.
Pair it with high CRI, at least 80, and ideally 90+ in open kitchens or plating zones, so meats, greens, and sauces look true, not washed out.
Match those same targets in under-cabinet task lights to support sharp doneness checks and quality calls.
Good illuminance consistency helps every station feel dependable, while glare control keeps eyes relaxed and focus steady.
Skip warm 2700K–3000K tones in prep areas; they can make color reading feel fuzzy, which nobody needs when dinner’s flying out.
Pick IP-Rated Fixtures for Wet Areas
In wet restaurant kitchen zones, the right fixture rating can save you from constant hassle, because moisture, steam, grease, and cleaning spray all work against weak lights. Choose IP65 LED fixtures for cooking and dish-adjacent areas; they block dust and handle low-pressure washdowns.
- For sinks and direct spray, step up to IP66 or IP67 for stronger splash protection.
- Use vapor-tight fixtures with gasket sealing where steam condensation builds up.
- Check every joint, box, and housing so moisture ingress can’t sneak in.
- Keep dry storage simpler, since IP44 may be enough outside splash paths.
When you match the rating to the real wet zone, you protect your crew, cut repairs, and keep your kitchen free to work without lighting drama.
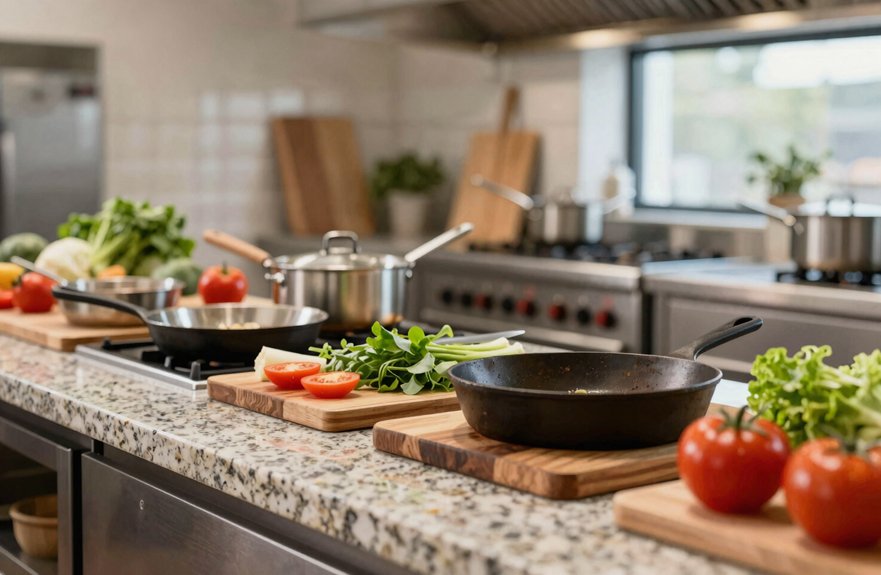
Match Fixture Types to Each Kitchen Zone
Once you map each part of the kitchen to its lighting needs, the right fixture choice becomes a lot simpler, and the room starts working with you instead of against you.
In the dishwashing zone, choose vapor-tight LEDs with sealed housings so steam and splashes don’t slow you down.
Over grills and fryers, use grease-rated, moisture-rated luminaires that stay steady through heat and condensation.
At prep stations, brighter LED fixtures, plus under-cabinet task lights, give you clean sightlines for knife work, with zone specific glare control and task height aiming keeping harsh light out of your eyes.
In storage and walk-ins, lower-output LEDs give safe, instant light without overdoing it.
For open production areas, high-bay or flush fixtures spread even light and help you move freely, like the kitchen finally got the memo.
Plan a Kitchen Lighting Retrofit
When you plan a kitchen lighting retrofit, start by mapping each work zone—prep, cooking, dish, and storage or walk-ins—so the new layout fits how your team actually works, not just how the ceiling happens to look.
Use Lighting Zone Mapping to choose the right brightness, then layer task lights where hands and knives need clear sightlines.
- Pick 4,000K–5,000K LEDs with CRI 80+, or 90+ for plating, so colors stay true.
- Set prep and cooking levels high enough to reduce fatigue, while keeping glare away from heat and metal surfaces.
- Choose sealed, kitchen-rated fixtures, like IP65+ vapor-tight models, for grease and wash-down areas.
- Work with a licensed electrician, and select retrofit LEDs with smart layout options, so you keep freedom, control, and a safer kitchen.
Add Emergency and Backup Lighting
As you add emergency and backup lighting, make sure your kitchen can stay safe and easy to move through even if the electricity fails. Install code-compliant LED emergency fixtures with built-in battery backup, and choose models that can keep shining for up to 90 minutes.
Place them along exits, corridors, and staging paths, where your team actually walks, so you support Evacuation planning and cut panic when visibility drops. Match the layout to your regular lights, so you don’t create shadowed dead zones or harsh glare that can tire eyes.
Pick emergency-rated fixtures made for commercial use, because they handle daily demands better and need less servicing. Finish with Battery runtime checks, so you know the system works when your crew needs freedom to move fast.