
Modular kitchen stations let you change your line as your menu shifts, without tearing out the whole setup. You can add prep, swap a grill for a fryer, or create extra cold and pastry zones when demand grows. Build your layout around rush flow, keep the hot line and pass clear, and use a strong prep area, dish pit, and seasonal flex space so service stays fast, safe, and calm, even when the menu gets playful.
Key Takeaways
- Modular kitchen stations let you add, swap, or rebalance capacity without redesigning the entire line.
- Build stations around rush-time workflow so prep, cook, and pass areas stay ordered and bottleneck-free.
- Use flexible hot-line modules for sauté, grill, and fry work, with safety and ventilation built into the layout.
- Separate cold apps, pastry, and heavy-duty prep zones to protect quality and keep specialized work efficient.
- Modular redundancy and buffer prep areas help service continue smoothly when menus change or one station slows.
Why Modular Kitchen Stations Matter
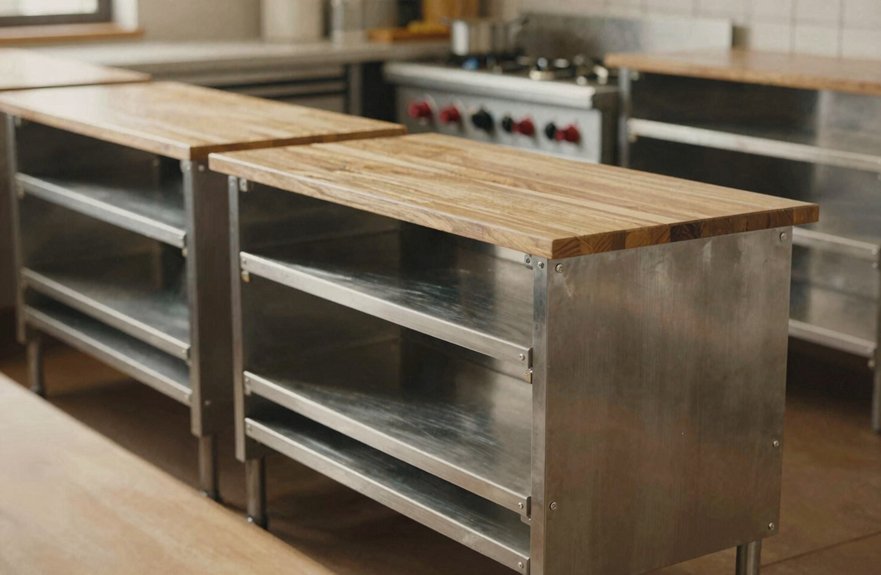
When you build a modular kitchen station, you’re not just buying a single piece of equipment, you’re creating a complete micro-workflow with its own utilities, access, and storage, which makes it much easier to add, swap, or rebalance capacity without tearing apart the whole line.
You get freedom to grow on your terms, because each unit supports a clear job and fits into a bigger system that can change with you.
That kind of Modular Redundancy boosts Service Reliability, since one module can fail without stopping everything.
You can also group high-load tasks into pressure stations, keep core zones steady, and add specialty space when seasonal items show up.
Instead of chasing a single hero appliance, you build repeatable flow, better control, and fewer headaches.
Pick the Best Layout for Your Menu
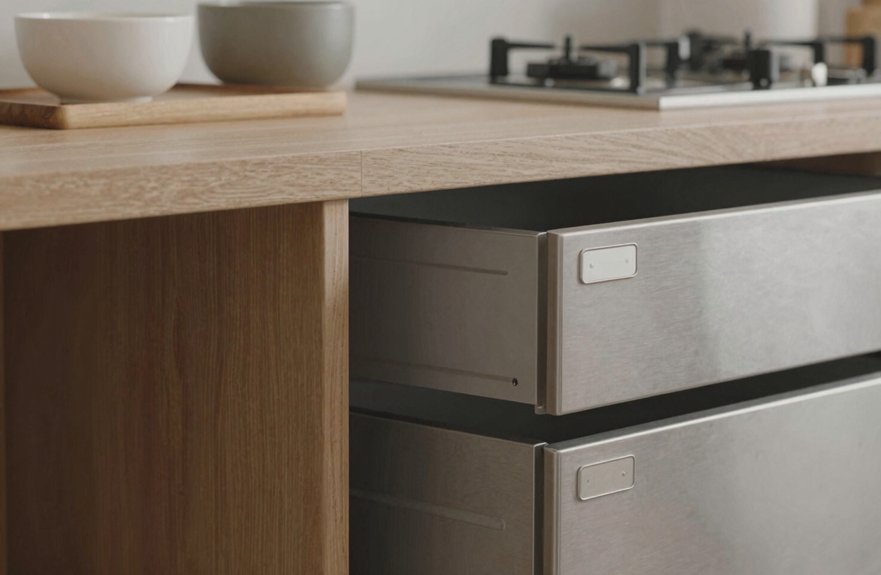
To pick the best layout for your menu, start with how food actually moves during your busiest rush, because that’s what your kitchen has to handle every day. For QSR speed, a linear line works well; for detailed plates, zones or an island give you more control and visibility.
| Layout | Best use |
|---|---|
| Linear | Fast, high-volume menus |
| Zone | Mixed prep methods |
| Island | Live finishing and oversight |
| Hybrid | Seasonal Menu Testing and change |
Use Workflow Bottleneck Control by keeping routes that must not cross apart, then set prep, cook, and pass stations in order. During Peak Rush Timing, run a tape walk-through and a quick rush simulation. That helps you spot problems early, while Staffing Visibility Tips keep every station easy to watch, and your layout stays free to flex.
Build Around the Golden Triangle
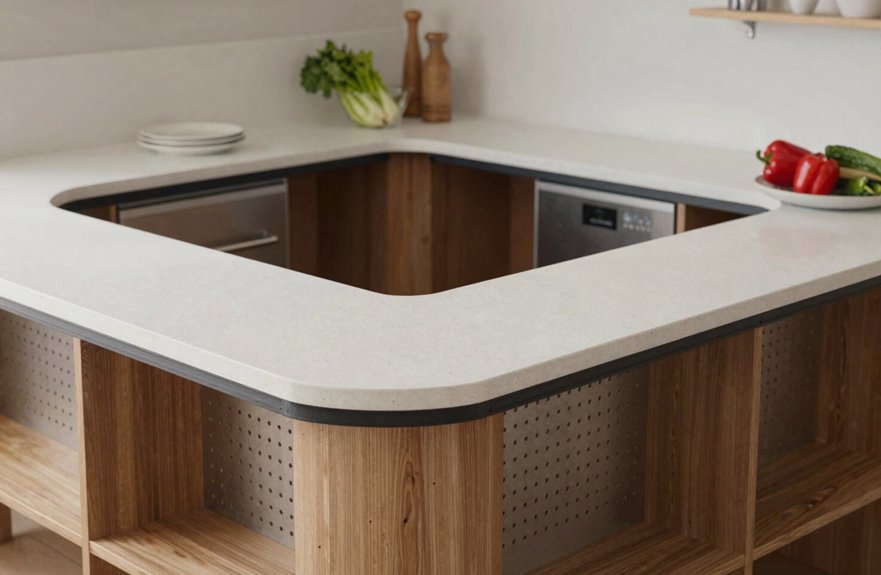
You can build your modular kitchen around a clear Storage → Prep → Cooking flow, so each step follows the next without staff cutting across one another during a rush.
Keep storage within easy reach of prep, place sinks and cutting boards where your team can move proteins and garnishes without rerouting, and let the cooking side support quick module swaps when menus change.
A tape walk-through and rush simulation will show you fast, before you lock anything in, whether your pathway stays open or turns into a traffic jam.
Storage Prep Cook Flow
A smart modular kitchen starts with the Golden Triangle, because storage, prep, and cooking work best when they stay close enough for staff to move fast without getting in each other’s way.
You place your reach-in fridge or low-boy near the cutting board and sink, then line up the range, fryer, or oven so product moves in one clean path from receiving to storage, prep, and cooking.
That keeps carry time short when tickets spike, and it helps you avoid the dreaded menu walk.
Build each station to support storage access, prep surfaces, and the cooking interface together.
With undercounter workflow and mobile storage options, you can shift the storage edge when seasons change, while repeatable modules keep controls familiar and the whole setup free to adjust.
Clear Pathway Design
Around the Golden Triangle, clear pathways keep a modular kitchen running smoothly, so storage, prep, and cooking stay connected without staff bumping into one another. You build around a no-crossing route from Storage to Prep to Cooking to the pass, then check staff circulation before you pick modules. Keep aisle clearance wide enough for door swings, shelf access, and landing zones, and use trolley staging only where it won’t block the lane.
| Check | Focus |
|---|---|
| Path map | Storage→Prep→Cooking |
| Rush test | Ticket timing |
| Fix points | Bottlenecks |
With modular ownership, you can swap a fryer or add induction without breaking flow, so the kitchen stays free and flexible. Run a tape walk-through and a busy-service simulation, and you’ll catch collisions before they slow your team.
Design a Flexible Hot Line
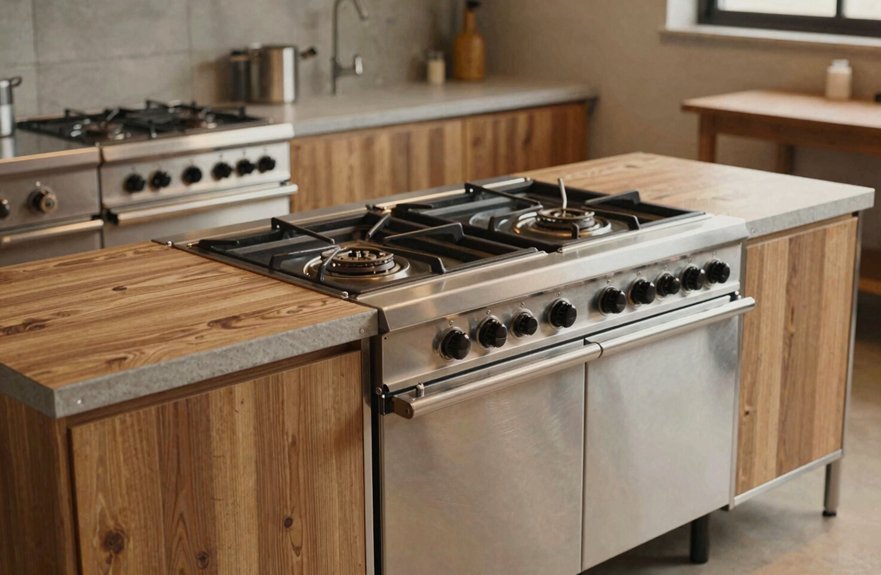
On the hot line, flexibility starts with repeatable heat zones that can handle sauté, grill, and fry work without slowing the team down, while immediate refrigeration for proteins and finishing butters helps keep every order on target during a rush.
You should treat ventilation fundamentals and fire suppression systems as fixed rules, since they shape every layout choice.
Build in modular cooking families, like independent induction zones, so you can shift capacity without tearing out the line.
Add extra energy, outlets, and adaptable utilities now, and you’ll welcome new equipment later with less stress.
On the fry side, set clear oil-management steps, use grease-rated non-slip mats, and separate vats by allergen.
That way, you keep service safe, fast, and free to change with your menu.
Build a Sauté Station for Speed
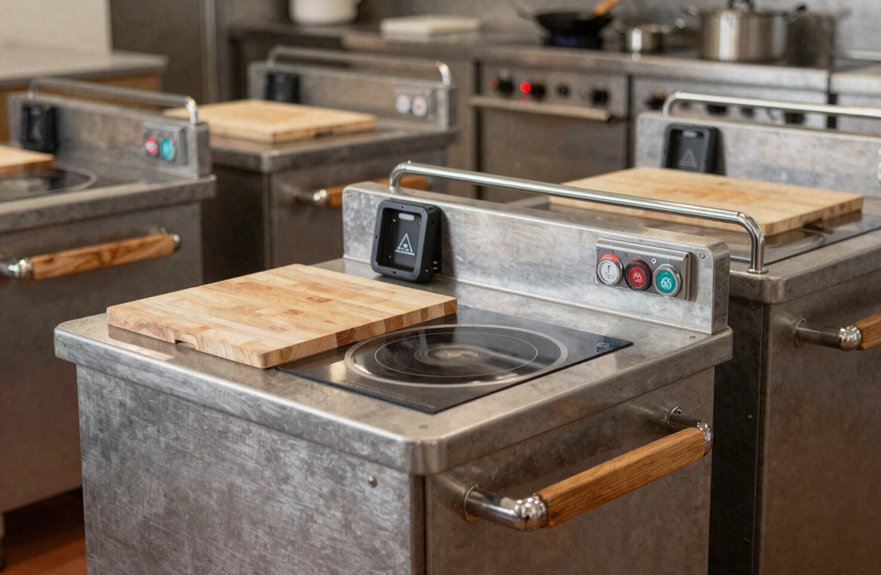
You can build your sauté station as a tight heat-zone layout, with the range at the center and cold storage for proteins and finishing items within easy reach, so every move feels quick and natural.
Keep the path from storage to prep to cooking clear and direct, and add fast reach-in access plus a small pass-side plating area so you’re not crossing traffic when tickets start flying.
Choose modular gear that can shift as menus change, and use a safe, repeatable setup that helps you work fast without turning the station into a hot mess.
Heat-Zone Layout
When speed matters on the line, build your sauté station as a true heat zone, with the range at the center and immediate refrigeration on both sides for proteins and finishing butter, so cooks can grab what they need without wasting steps.
You’ll protect flow with thermal zoning, keeping hot, cold, and holding areas clear enough for fast work and safer moves.
Shape the station around pass-side space for quick plating, and keep prep surfaces and instant-access storage tight to the range so staff traffic flow stays clean during rushes.
Place the station in the Hot Line hub, match airflow to the heavy vapor load, and use insulated coats plus wipe-clean surfaces to handle the heat without slowing your team.
Rapid Reach-In Access
To keep sauté work moving at full speed, build the station around rapid reach-in access, with the range or sauté heat source centered and immediate refrigeration on both sides so cooks can grab proteins and finishing butters without crossing traffic lanes.
You’ll protect service throughput when your safety workflow keeps the Storage → Prep → Cooking golden triangle open and easy to move through.
Keep squeeze bottles, garnish trays, and other cold items at high-frequency points of use, right where your hands already work.
Use pass-side staging for quick handoff, so finished plates don’t boomerang across the room.
With station standardization and smart tool reorganization, you can switch menus fast, finish proteins cleanly, and keep the line flexible, nimble, and ready for whatever rush shows up next.
Fast Plating Space
How do you keep sauté tickets moving without turning the line into a traffic jam? You give yourself fast plating space beside the range, so finished dishes can land, breathe, and go without piling up.
Pair that with immediate refrigeration at your sauté station, and you keep proteins and finishing butters close, not wandering like lost tourists.
Build a full micro-workflow with prep space, squeeze bottles, and garnish trays within easy reach, and you’ll cut steps on every ticket.
Add grease-rated, non-slip mats, and keep the setup along the Storage → Prep → Cooking golden triangle for safer movement.
With modular pass worktops and nearby cold storage, you can shift for new menu items fast.
That means a speedy turnaround, solid hot side timers, and more freedom on a busy line.
Optimize Grill and Fry Workflows
Even as menu items change, your grill and fry stations should run on a clear, repeatable rhythm that keeps the hot line steady and safe.
Build your grill flow around mark, cook to target temperature, then rest, so timing stays predictable even when specials shift.
Set up separate heat and safety zones, with room for hot pans, quick refrigeration, and clean pass-side plating.
On the fry side, use fry heat control and oil safety engineering to keep oil steady, filtered, and less wasteful.
If your menu grows, assign separate vats or areas for seafood and potatoes, so you protect speed and sanitation during rushes.
Finish with grease-rated non-slip mats, because a faster line shouldn’t mean a slick one.
You’ll move freely, serve cleanly, and keep control.
Separate Garde Manger and Pastry
Because cold apps and pastry each depend on very different conditions, you should treat the Garde Manger and pastry station as separate zones, not as one shared corner of the line.
You keep cold prep strict, use reach-ins or low-boys, and move fast, since there’s no heat-kill step to save you later.
On the Garde Manger side, dedicated cold storage, neat garnish bins, and squeeze bottles help you fire clean plates and keep table turns smooth.
For pastry, you protect emulsions, chocolate, and delicate textures by staying out of the hot-line grease shadow.
Clear Food safety signage and simple workflow checklists make the handoffs easy, so you can swap menu items without mixing jobs, messing up temps, or asking pastry to survive a kitchen tantrum.
Build a Heavy-Duty Prep Zone
You’ll want to build your heavy-duty prep zone around sturdy, roomy work surfaces that can handle constant chopping, trimming, and staging without slowing you down.
Add bulk prep equipment like deep sinks, strong mixers, and other tools that help you process large amounts of food fast, because your prep area should keep pace when the menu gets busy.
When you set it up this way, you create a reliable buffer that keeps the hot line moving, and that’s a pretty smart kind of calm in a busy kitchen.
Heavy-Duty Work Surfaces
To keep a modular kitchen running smoothly, build a heavy-duty prep zone that can handle the hardest jobs without crowding the rest of the line. You need food safe materials, spill resistant design, non slip surfaces, sanitation zoning, workflow ergonomics, and durable casework, so every task feels easy and controlled.
Size the tables for full prep-to-handoff flow, and keep raw tools close but sorted.
- Give yourself deep sinks for fast washdown.
- Leave extra space for bulk chopping and protein breakdown.
- Use clear access so each station works as its own micro-workflow.
- Add staging room for menu spikes, because freedom means you can shift fast.
With sturdy, cleanable surfaces, you’ll move quicker, stay safer, and keep pressure off the hot line.
Bulk Prep Equipment
When bulk prep starts backing up, a modular kitchen can slow down fast, so build this zone for the hardest jobs first, like breaking down proteins, chopping cases of vegetables, and making stocks in volume. Use deep sinks, heavy-duty mixers, and big tables, then place each tool where you can grab it fast. Design the flow from intake to batching, so menu swaps don’t stall you. Size the station from peak-hour tickets, not guesswork, and keep it away from hot lines. Separate food and waste paths, and follow Clean sink zoning, knife safety standards to protect your team.
| Need | Best tool | Why it helps |
|---|---|---|
| Wash | Deep sink | Handles heavy loads |
| Mix | Heavy-duty mixer | Speeds batches |
| Cut | Large table | Cuts bottlenecks |
| Move | Point-of-use setup | Saves steps |
Design an Efficient Dish Pit
A well-designed dish pit keeps the back-of-house moving by following a one-way “sanitation loop,” where dirty ware enters at soil drop-off, moves through scrape and rinse, then scrub, machine wash, drying, and finally polishing and restocking, with no backtracking that could cause recontamination.
You protect freedom in the kitchen by planning Drainage planning and staff workflow around this path, so nobody trips over a bad layout or waits on a stalled rack.
- Size the pit for peak load.
- Keep clean and dirty zones apart.
- Leave space for quick loading and chemical refills.
- Add utility-ready spots for extra machines.
Treat it as a fixed bottleneck, and your hot line stays free to cook. When menu shifts bring more fry, sauce, or char items, your dish pit still flexes, without chaos.
Use the Pass as Your Service Hub
At the pass, you can turn a simple counter into the true service hub of the kitchen by sizing it for finishing, garnishing, and short-term staging, so the hot line doesn’t become the choke point every time the menu shifts.
Keep ready plates separate from those still in progress, and you’ll protect ticket flow while giving each dish the right plate hold.
Map service traffic so runners move on a clear path, away from the hot line, and keep staffing zones easy to read when specials change.
Build in flexible surfaces and owned spots for tools, so you can adjust fast without losing control.
A quick tape walk and rush test will show where movement feels tight, helping you fix trouble before it slows your whole team.
Plan Space for Seasonal Equipment
As your menu changes through the year, you’ll want to reserve flexible zones for seasonal equipment so special pieces, like an ice cream machine for summer promos or induction burners for tasting events, can slide in without crowding the hot line or pass.
- Map front and back-of-house spots for quick swaps.
- Build utility planning in early, with extra outlets and gas connections.
- Keep switchable storage and floor space ready for sous-vide baths or rolling shelving.
- Size nearby prep and holding areas to match the faster or slower workflow.
With modular reconfiguration, you can move mobile prep tables, adjust racks, and shift specialty gear as often as your menu does.
That freedom keeps your kitchen nimble, calm, and ready for whatever your next season serves.