You’ll cut kitchen shadows when you place recessed lights over the work zone, not just in the ceiling center, so the beam lands where your hands chop and rinse. Use several smaller fixtures with overlapping beams, and match them with under-cabinet lights that push light onto the counter. Keep fixtures coordinated with cabinet doors and the sink, then soften daylight with shades and adjust brightness with dimmers, and the rest starts to click.
Key Takeaways
- Place recessed lights over the counter work zone, about 18–22 inches from the wall on a 24-inch counter.
- Use multiple fixtures with overlapping beams instead of one dominant light to soften shadows and fill dark seams.
- Match beam angle and spacing to the countertop footprint so light lands on the prep area, not wasted ceiling space.
- Add under-cabinet lighting aimed at the countertop to reduce upper-cabinet shadowing and improve task visibility.
- Control daylight with shades or blinds, and use dimmers to balance glare and shadow changes throughout the day.
Why Do Kitchen Shadows Happen?
Why do kitchen shadows show up so easily? When you stand at the counter, recessed downlights often work like near-point sources behind you, so your own body blocks part of the beam and throws a dark patch across the front edge.
Narrow beams make this worse, because Recessed light geometry creates sharper shadow contrast edges when you’re close to the counter and farther from the fixture.
If one light does most of the work, you’ll notice a stronger shadow; multiple fixtures can overlap and soften it.
Surface finish matters too, since grease, grime, or glossy spots bounce light in odd ways.
With cleaner surfaces and balanced lighting, you get more freedom to prep, chop, and move without fighting harsh shadows.
Place Recessed Lights Over the Work Zone
You’ll get better results when you center recessed lights over the counter’s work zone, usually a little in front of the cabinet edge, so the light lands where your hands actually move.
Match each fixture’s beam angle to the countertop area, because a well-aimed cone lights the surface instead of wasting brightness in open space.
Use several smaller lights and let their beams overlap, since that shared coverage softens shadows and keeps the counter from feeling patchy.
Center Lights Over Counters
When you center recessed lights over the counter’s work zone, the light lands where you actually chop, mix, and prep, instead of falling behind you and creating a shadow right where your hands need to be. In a layered lighting plan, this shadow safe aiming, gives you cleaner task light and more freedom to move without fuss.
Set fixtures about 18–22 inches out from a 24-inch-deep counter, and line them up with cabinet doors so you don’t create dead zones or weird bright-and-dim scallops.
Choose more smaller lights instead of a few big ones, because their overlap softens contrast on the surface.
If you know the beam spread, such as a 30° beam, center each fixture where its light really covers the prep area.
Match Beam To Work Zone
To get rid of shadows where you actually work, aim each recessed light so the brightest part of its beam lands right over the task zone, not just somewhere in the ceiling above it.
When you match the beam to the counter edge, sink rim, or prep strip, you give your hands clean light and keep task contrast under control.
Check the fixture’s beam angle and coverage chart, then picture the light circle at counter height so you can line it up with the real work area.
This kind of shadow prevention helps reduce glare too, because the light stops spilling where you don’t need it.
If the beam sits behind you, shadows grow fast, so place it to support your freedom to cook, prep, and move without fighting the light.
Overlap Fixtures For Coverage
Even the best-aimed recessed light can leave a dull strip of shadow if it works alone, so place your fixtures so their coverage circles overlap across the sink and counter.
Use the beam-angle data in each light’s guide, then map the spread at your counter depth so the edges meet with no dark bands.
Don’t trust the center of the beam alone; the outer light fades fast, and that’s where shadows sneak in.
Narrow flood beams need tighter spacing, so adjust dimmer settings after install to keep the wash even.
On your layout, account for ceiling obstructions like joists or ducts before you cut.
A quick scale drawing, or a simple model, helps you verify every key spot gets light from more than one can.
Use Beam Angles to Set Fixture Spacing
You can use each fixture’s beam angle to see where the brightest part of the light will land on your counter, and that gives you a smarter starting point for spacing.
When you plan the layout, aim for the softer edges of neighboring beams to overlap over sinks and prep areas, because that helps keep those annoying little shadow gaps from showing up.
Narrow beams usually need to sit closer together than wider ones, so check the maker’s coverage chart at your countertop height, not just the label on the trim.
Beam Angle Basics
Think of each recessed light as a cone of brightness that lands on your countertop, and use the fixture’s beam angle to figure out how wide that cone will be at work-surface height. A 30° beam gives a tighter pool, while a wider beam spreads farther and softens shadows.
For free-moving, shadow-smart planning, try this:
- Check the fixture’s beam-angle chart.
- Use tan(beam/2) to estimate spread.
- Mark coverage circles on a scale drawing.
- Compare light source testing with your shadow measurement criteria.
Narrow beams usually need closer spacing so the cones overlap and your prep zone stays bright. Wider beams feel gentler, yet the edge light still fades, so verify the layout before you lock it in. That way, you keep control, not glare.
Spacing by Coverage
Once you know the beam angle and the coverage chart from the fixture’s spec sheet, you can space your lights so their footprints overlap across the countertop instead of leaving dark seams between them.
Compare ceiling height, model overlap, then measure task distances, avoid dark zones, and keep the sink and prep areas inside shared light.
Narrow beams need tighter spacing, because their edges fade faster and cast sharper shadows.
Draw each fixture’s circle or ellipse on paper, or a floor plan, and check where the shapes meet before you cut holes.
You want light coming from more than one direction, so the counter feels open and easy to use, not boxed in by one bright spot.
A little planning now saves you from crawling back up later.
Align Downlights With Counters and Sinks
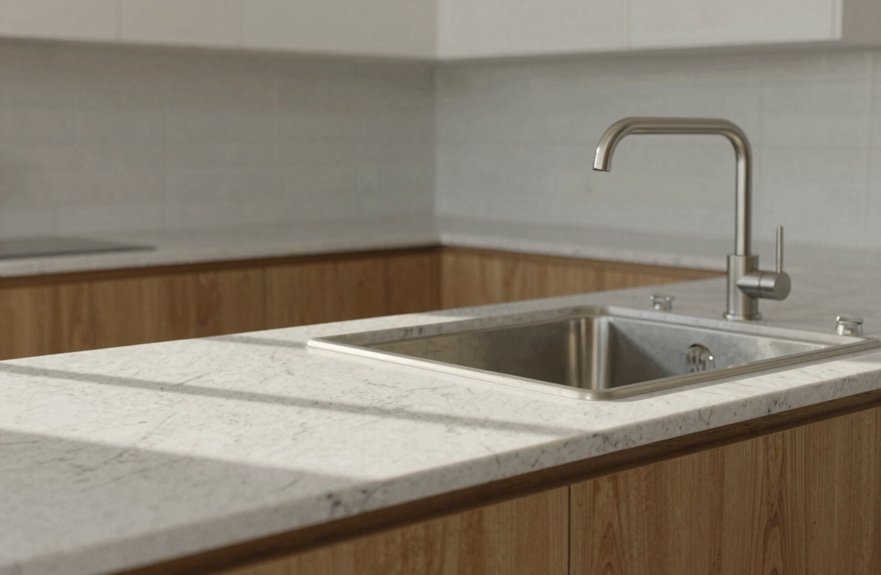
When you place recessed downlights in a kitchen, line them up with the counter edges and the sink instead of tucking them too far in or pushing them too far out, because that’s where your hands, knives, and dishes do the real work. You’ll keep light where you need it, and you’ll avoid those awkward shadow bands that make prep feel clumsy.
- Match fixture lines to cabinet doors and the sink centerline.
- Set lights about 18–22 inches from the back wall on a 24-inch counter.
- Check the beam chart so the light circles overlap at counter height.
- Use narrower beams only when spacing allows full coverage.
This also helps you cut Safety Glare and keeps Dimming Compatibility simple. With a clean layout, your kitchen feels open, easy, and built for freedom.
Add Under-Cabinet Lighting for Tasks
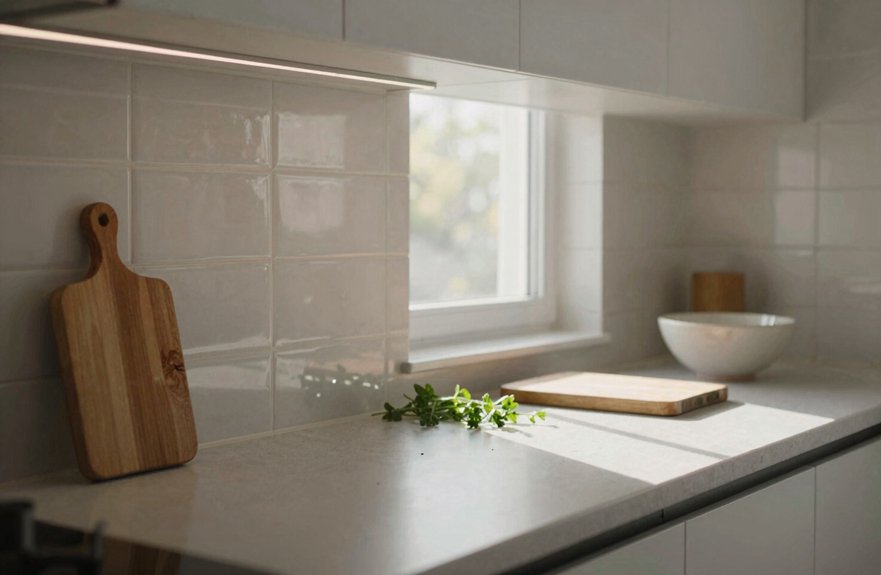
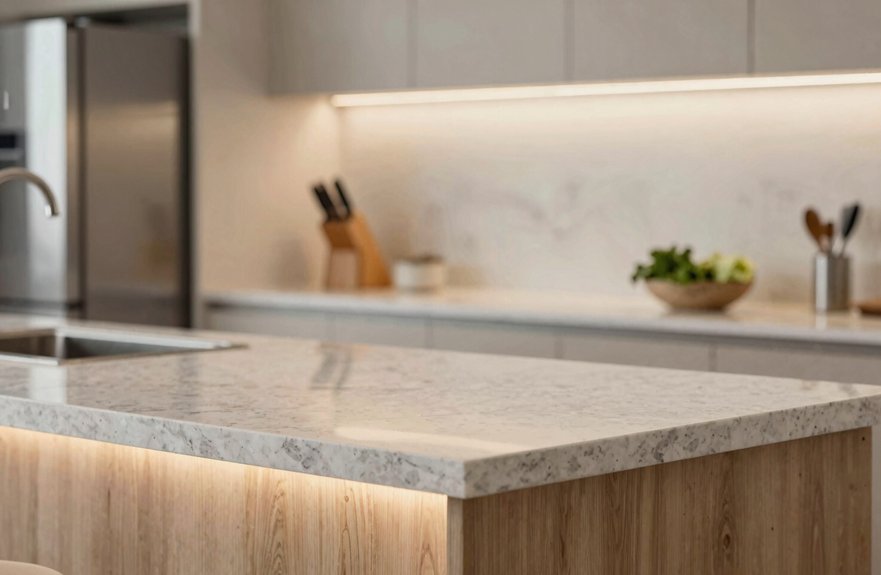
Under-cabinet lighting does some of the heaviest lifting in a kitchen, because it sends light straight onto the backsplash and then “pushes” it onto the countertop, which cuts down on the shadows upper cabinets can throw over your work area. You’ll want this in prep zones, near the sink, and by the stove, where you actually chop, stir, and rinse. Aim for about 250+ lumens per linear foot, and use glare free placement so the beam hits the surface, not your eyes.
| Zone | Benefit |
|---|---|
| Prep area | Clear cuts |
| Sink side | Better visibility |
| Stove side | Easier checks |
| Backsplash aim | Less shadow |
| Integrated switch control | Simple freedom |
With layered task lighting, you keep your kitchen flexible, bright, and ready when you are.
Choose Smaller Fixtures for Softer Shadows
Smaller recessed downlights, especially the 2–3 inch kind, can make a big difference in how your kitchen feels and functions, because they spread controlled pools of light across the counter instead of leaving big dark bands between fixtures.
When you want true Layered Task lighting, choose more small fixtures, not a few big cans, so you get better overlap control and smoother shadow softening.
- Place them closer together for even coverage.
- Use narrow beams only when you can overlap them well.
- Check each beam’s landing spot on the counter.
- Confirm the outer edges fill shadow-prone gaps.
You’ll notice that smaller apertures can sharpen shadow edges, so spacing matters.
Test your layout with the beam chart before you commit, and you’ll keep your work zone bright, free, and ready for whatever you’re cooking.
Control Daylight Glare With Window Treatments
Even with well-placed fixtures, daylight can still create some of the hardest kitchen shadows, especially on east- or west-facing windows where low sun throws bright highlights and dark bands across your counters.
Treat those windows like a lighting control point, not a problem, and use blinds, shades, or curtains you can adjust as the day changes.
Curtain layering lets you soften strong rays while still keeping the room open and airy.
Tilt slats or pick fabrics that spread light, so reflections don’t slide across glossy counters or the backsplash.
Aim to block direct sun, not freedom.
Do a little glare monitoring at the sink and prep zone, then adjust the treatment until your work surface feels calm, even, and ready for real use.
Check Coverage With a Scale Drawing
Want to know whether your lighting plan will really cover the kitchen work zones? Make a scale drawing of the room, with counters at true depth and ceiling height, then place each recessed or linear fixture where it’ll hang.
- Mark cabinet faces and counter edges.
- Draw each beam footprint using the maker’s chart.
- Check sink and prep area overlap, where shadows fade.
- Spot gaps near corners or vaulted ceilings.
When you see the pattern on paper, you can shift fixtures before you drill, keeping freedom in your layout and avoiding guesswork.
This also helps with user glare concerns and heat buildup mitigation, because you can see where light lands instead of hoping for the best.
Re-render the circles until the work surface looks evenly covered, with no dark surprises.
Fine-Tune Light Levels With Dimmers
Because daylight shifts all day and across the seasons, dimmers let you adjust under-cabinet and downlight brightness so your countertop task lighting stays comfortable and useful.
You can match under-cabinet output with recessed lights, aiming for about 250 lumens per linear foot, then dial things back until shadows soften without washing out the surface.
Keep the light strong enough for chopping, reading recipes, and spotting spills, but not so bright that glossy counters throw glare in your face.
Pick compatible LED dimmers so you get smooth low-to-high control, not flicker.
If aging eyes make shadows creep in, nudge the setting up a bit instead of moving fixtures.
Color temperature selection and occupancy sensor dimming can help you stay flexible, efficient, and free to use your kitchen your way.