You’ll cut cross-traffic by using a clean-to-dirty flow, from storage and prep to cooking, service, and dishwashing. An assembly line or zoned kitchen works best, with prep kept separate from the hot line and pickup placed between the line and dining room. Store dry goods and coolers near prep, and keep washing near the back exit. For your menu, choose the layout that matches your speed, space, and team, and there’s more to unpack ahead.
Key Takeaways
- Design a clean-to-dirty flow from receiving and storage through prep, cooking, service, and dishwashing to prevent cross-traffic.
- Use assembly line or zone-style layouts for predictable movement, fewer collisions, and faster ticket handling.
- Keep cold prep separate from the hot line and plating areas to reduce errors, protect allergen control, and maintain speed.
- Place storage close to prep, and position pickup, expo, and dishwashing to support one-way movement without backtracking.
- Choose the layout based on menu and space: assembly line for high-volume menus, zone-style for mixed menus, galley for tight kitchens.
Which Commercial Kitchen Layout Reduces Cross-Traffic?
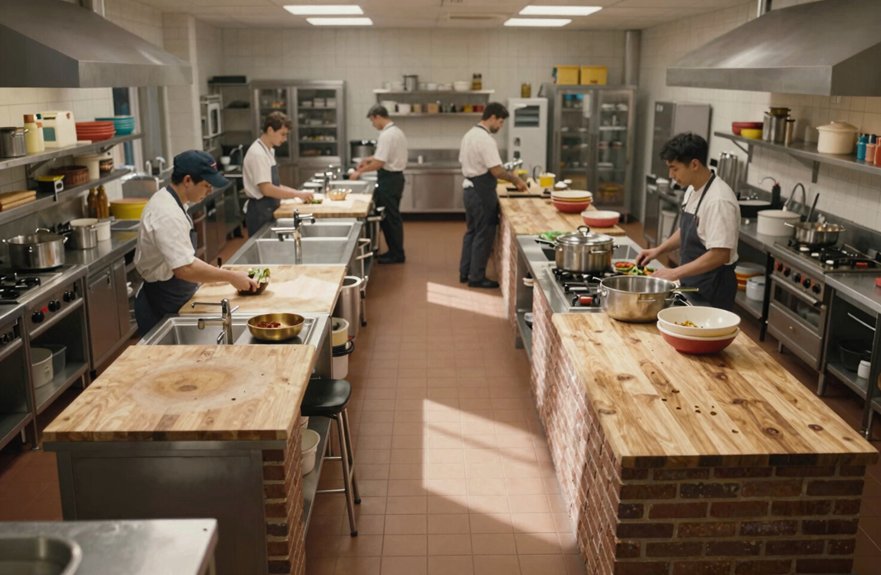
The layout that usually reduces cross-traffic best is the one that creates a clear clean-to-dirty flow, moving food and supplies from receiving and storage through prep, cooking, expo, service, and then dishwashing without those paths crossing.
You’ll get the strongest results with an assembly line or a well-separated zone plan, because each step stays predictable and mistakes drop.
If you keep raw prep away from hot line and plating areas, you protect both speed and safety.
In a tight space, a galley setup can help by limiting turns.
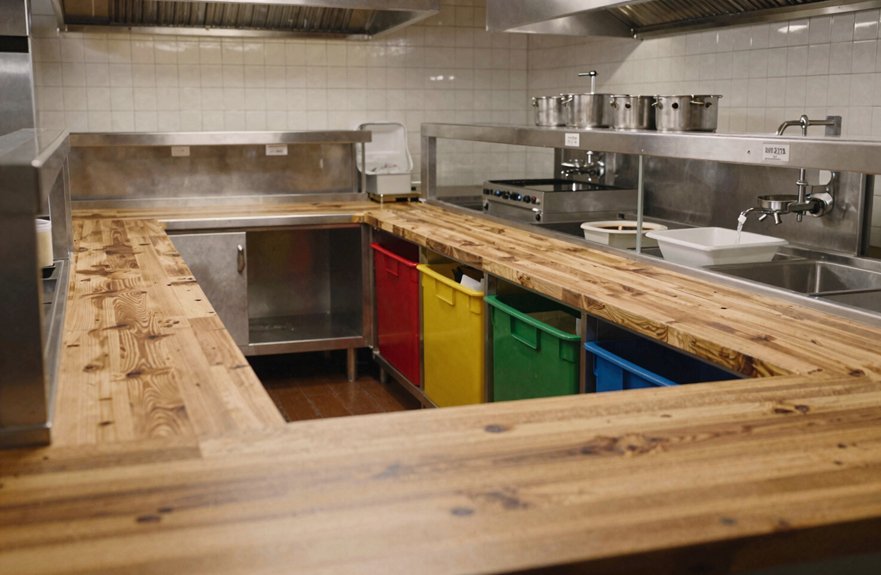
For a smoother Hands free Workflow, use clear labels and Color Coding Zones so everyone knows where to go.
Skip shared lanes when you can, because freedom in the kitchen starts with fewer bumps, fewer delays, and less chaos.
The 5 Commercial Kitchen Layout Types
When you’re choosing a commercial kitchen setup, it helps to understand the five main layout types, because each one shapes how people move, how fast food gets out, and where mistakes are most likely to happen. You can match the layout to your menu, space, and freedom to work your way.
- Assembly line: best for fast, repeatable service.
- Zone-style: strong for workflow zoning and mistake reduction.
- Galley: great when space is tight, but it can feel cramped.
- Island: gives one central command point for oversight.
- Open kitchen: builds trust, yet needs tight control.
If you want smoother service, pick the layout that keeps your team in their lane and cuts unnecessary crossing. That’s how you protect speed, reduce errors, and keep your kitchen moving.
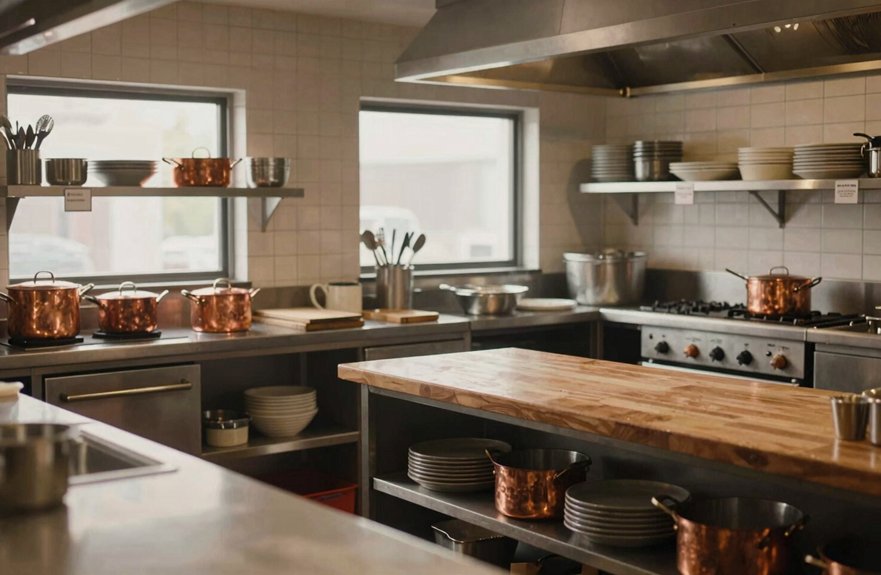
Where Storage, Prep, and Cooking Should Go
Now that you’ve got the main kitchen layout types in mind, it’s time to place each work zone where it supports speed instead of getting in the way.
Put walk-in cooler and dry storage closest to prep, so your staff workflow can move from grab to prep to fire without traffic bottlenecks.
Keep chemicals and non-food supplies in a separate room, with zoning standards that keep them away from food, tools, and dishes.
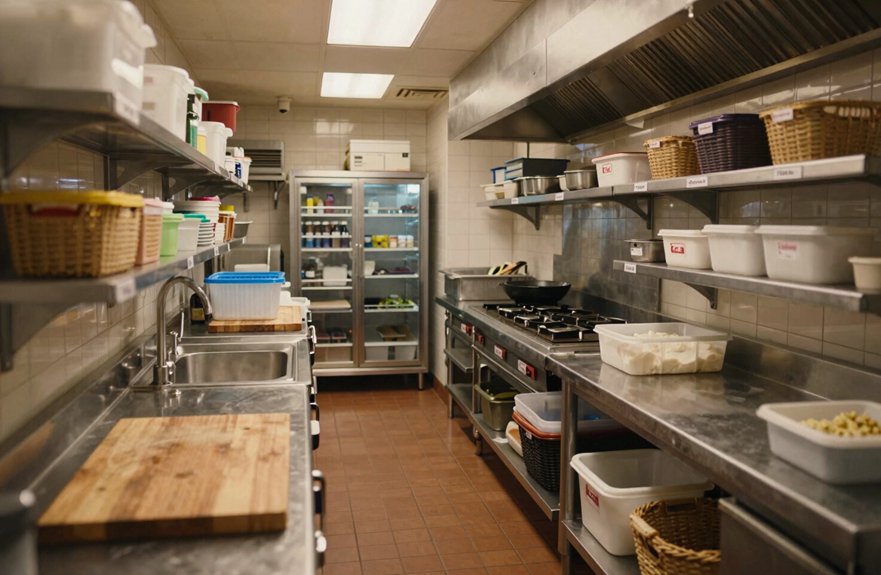
Build prep as a cold handling zone, where you do chopping, cutting, and early seasoning at dedicated stations, not on the cooking line, which helps with allergen separation and fewer mistakes.
Set the cooking line after prep as the final stage for baking, frying, and finishing, with clean menu staging and steady temperature control.
How Service and Washing Areas Stay Out of the Way
You can keep service and washing areas out of everyone’s way by giving each one a clear spot in the flow of the kitchen. Put pickup between the line and dining room, so service handoffs stay fast and nobody cuts through prep. Tuck washing near storage and the service door, creating a smart backstage exit that protects clean dirty separation.
Use dish racks, sinks, and signs to guide workstation choreography and one way flows, so dirty items move out, and ready items stay free.
In delivery or ghost kitchens, split courier pickup from the expo lane, because shared choke points invite chaos, and nobody wants a plate parade.
- Mark routes clearly
- Stage racks by use
- Keep lanes narrow
- Review rush traffic
How to Choose the Best Layout for Your Menu
Once service and washing areas have a clear place, the next step is matching your layout to the way your menu actually works, because the best floor plan should follow the path of each dish from storage to prep, then to cook and expo without extra backtracking.
Map each item’s prep, cooking method, and final assembly, then build workflow sequencing around one-way movement.
If you run a limited, high-volume menu, an assembly line keeps each person on one repeat task, which speeds tickets and cuts collisions.
If your menu mixes grill, fry, bake, and sauté, choose zones so stations stay in their lane.
In small spaces, go galley or linear to save steps.
Use smart ingredient staging, and only pick open or island layouts when your staffing and command flow can truly handle them.