You can make your kitchen run like a pro space by zoning it into clear prep, cooking, plating, and cleaning areas. Place prep between the fridge and sink with 30 to 36 inches of open counter, keep pots, pans, spices, and tools close to the cooktop, and set plates near the serving path. This setup cuts backtracking, keeps clutter down, and makes daily cooking feel smoother, faster, and a lot less chaotic, with plenty more to unpack ahead.
Key Takeaways
- Professional kitchen zoning creates separate prep, cooking, plating, and cleaning areas to reduce backtracking and improve workflow.
- Place the prep zone between the refrigerator and sink, with 30 to 36 inches of clear counter space.
- Keep the cooking zone by the cooktop with pots, pans, spices, and utensils within arm’s reach.
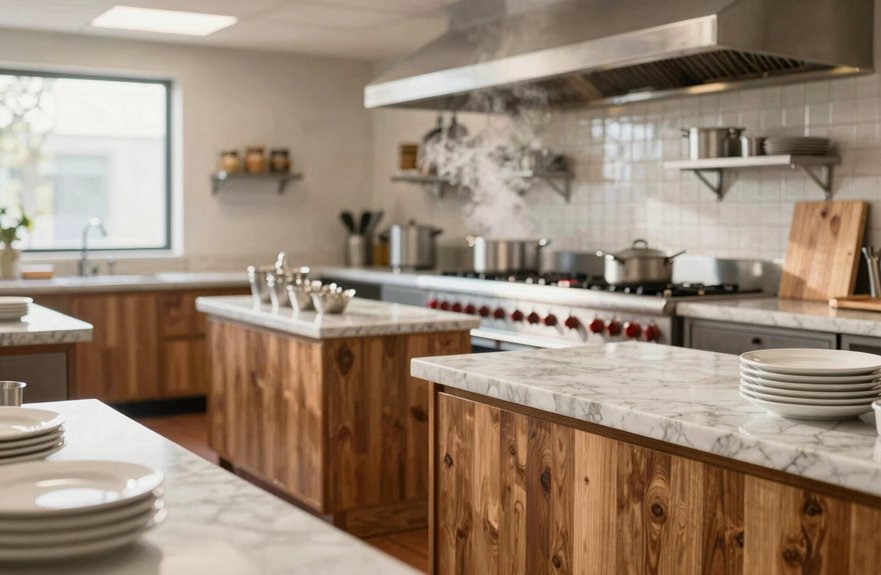
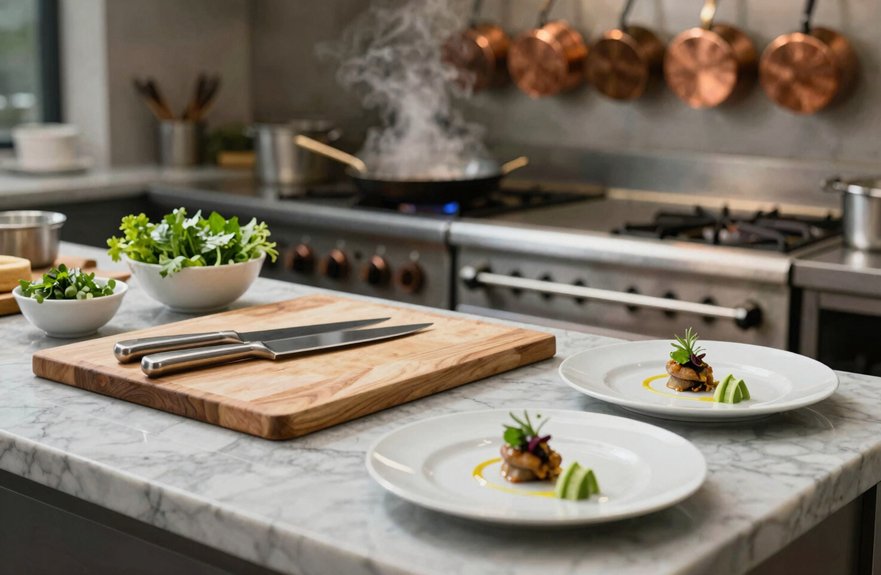
- Position the plate zone near the cooking area for fast plating, serving, and finishing touches.
- Design the cleaning zone with sink, dishwasher, trash, and soap storage together for smooth cleanup flow.
What Is Kitchen Zoning?
Kitchen zoning is the practice of dividing a kitchen into dedicated, task-based areas so each job happens close to the tools it needs, which makes daily cooking feel smoother and less cluttered. You create freedom by giving prep, cooking, and cleaning each their own spot, so you’re not backtracking all day.
A smart space saving layout puts the prep surface between cold storage and the cooktop, while keeping about 30 to 36 inches of clear counter for chopping and mixing. Good appliance placement keeps pans, spices, and oils near the heat, and it supports better traffic flow when you move between tasks.
Strong storage accessibility also matters, because dishes, trash, recycling, and small appliances stay where you can grab them fast, without playing hide-and-seek with your own kitchen.
Kitchen Zones vs the Work Triangle
You might know the classic work triangle, where your fridge, sink, and stove stay close for smooth movement, but kitchen zoning takes that idea even more by giving you clear areas for prep, cooking, cleaning, and storage. Instead of relying on just three points, you can shape about five or six zones that fit the way you actually work, which makes today’s layouts feel far more flexible.
In many kitchens, you’ll get the best of both worlds when you layer zone planning over the triangle, so your daily flow stays quick, practical, and a little less chaotic.
Kitchen Zones Explained
- Prep zone for cutting and mixing
- Cooking zone for heat, pans, and tools
- Cleaning zone for sink, trash, and recycling
- Storage zone for pantry items, dishes, and serving ware
This setup helps you place items where you use them, keeps clutter out of the way, and makes your kitchen feel calmer, safer, and easier to share, even in open spaces.
Work Triangle Compared
While kitchen zones help place each task where it belongs, the older work triangle still gives a useful starting point for planning a smooth kitchen.
You can use it to keep the fridge, sink, and stove close enough for easy movement, so your path stays short and your cooking feels freer.
Zones go onward, turning that basic idea into 5–6 stations for prep, cooking, cleaning, storage, and more.
That means better appliance placement, smarter storage accessibility, and less backtracking when you’re in motion.
Instead of hunting for pots or dishes, you keep tools where you actually use them.
In a remodel, think of the triangle as the core, then add zones around it.
It’s the triangle, but with a bigger toolbox.
The Three Core Kitchen Zones
A well-zoned kitchen starts with three core areas that each support a different part of the workflow: the Prep Zone, the Cooking Zone, and the Cleaning Zone. You gain freedom when each zone does one job well.
- Prep Zone: keep your knife skills placement and pantry staging near the fridge and sink.
- Cooking Zone: center it on the cooktop, with pans, lids, and seasonings close by.
- Cleaning Zone: place the sink beside the dishwasher for fast rinse-and-load action.
- Plate Zone: keep plating tools reach and serving workflow easy, so finished food moves out cleanly.
Give your Prep Zone about 30–36 inches of open counter, so you can cut, mix, and measure without shuffling things around. Then cook, clean, and serve with less mess and more flow.
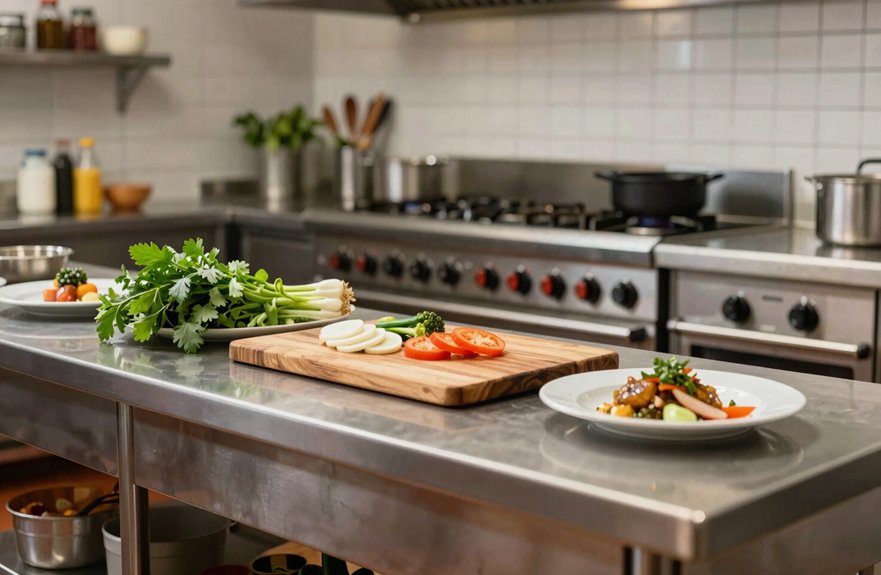
How to Set Up the Prep Zone
Set your prep zone in the main counter run between the refrigerator and the sink, because that’s where ingredients can move most naturally from storage to washing, chopping, and mixing without extra back-and-forth.
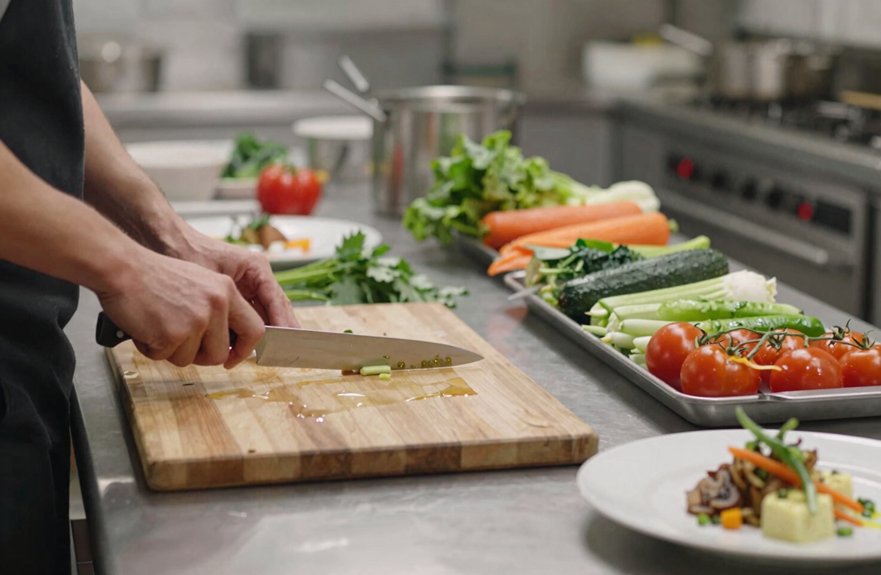
Give yourself 30 to 36 inches of clear counter, so your knife skills station feels open and you don’t keep moving bowls around like they’re auditioning for a dance.
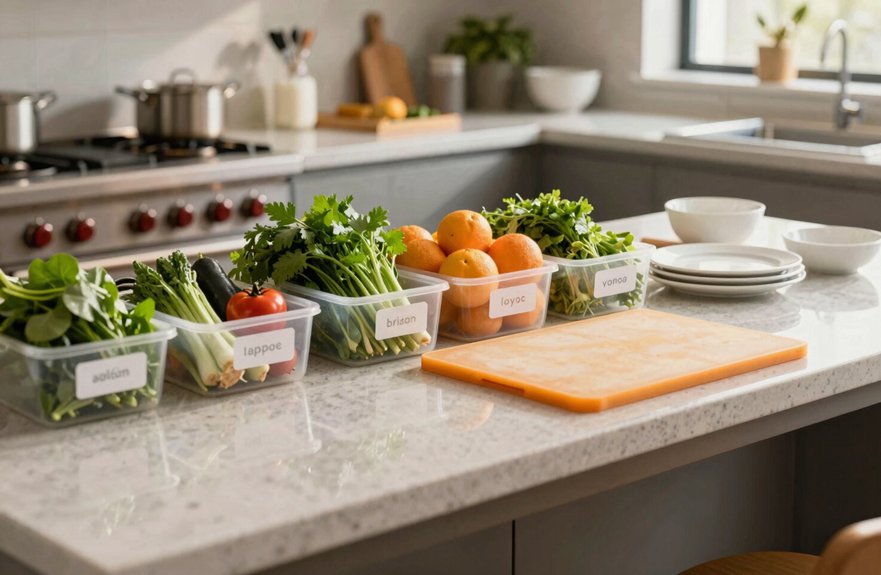
Keep cutting boards, your main knives, mixing bowls, and measuring tools within arm’s reach, and use equipment staging to line up what you’ll need next.
Add ingredient labeling for prepped items, plus a trash pull-out or compost bin nearby, and mount a paper towel holder at the same working height.
Strong workflow timing here keeps your hands free, your pace steady, and your prep clean.
What Belongs in the Cooking Zone
In the cooking zone, you want to keep the tools and ingredients you use most close to the range and oven, so meal finishing feels smooth instead of rushed.
- Pots, pans, and lids live in heat safe storage near the cooktop.
- Spatulas, tongs, and ladles stay in a side drawer or sturdy container.
- Spices, oils, and salts sit within arm’s reach for quick seasoning.
- Microwave and kettle support fast, heat-on tasks.
This setup improves tool safety, cuts steps, and supports clutter prevention, so you can move freely without bumping into extra stuff.
Keep mail, backpacks, and charging cords out of this space, because the cooktop is for cooking, not parking.
With simple zone maintenance, you protect your flow, save time, and keep the kitchen ready for whatever you’re making next.
How to Design the Cleaning Zone
You can design your cleaning zone around the sink and dishwasher so dirty dishes move in a smooth line from scrape to rinse to wash, with the dishwasher sitting right next to the sink for less mess and less walking.
Add a pull-out trash or recycling bin nearby, plus easy-reach drawers or cabinets for soap, sponges, and dish items, so cleanup feels quick instead of like a kitchen scavenger hunt.
Keep a small paper-goods drawer close by for towels, foil, or wax paper, and give the whole zone a little space from your main prep and plating areas so splashes stay where they belong.
Cleaning Zone Layout
When you design the cleaning zone well, the whole kitchen feels calmer, because dirty dishes, trash, and cleanup tools all have a clear place to go. Build it for Quick declutter, with zone labeling, utensil staging, and a smart drying strategy that keeps you moving freely.
- Put the sink area beside the dishwasher, so you rinse, scrub, and load without wasted steps.
- Keep trash, recycling, paper towels, and under-sink basics within arm’s reach.
- Store plates, bowls, and cups near the zone, at eye level if you use them often.
- Use under-sink storage for tools and paper goods, but never place chemicals above food items.
This layout lets you clean fast, reset fast, and get back to cooking without feeling tied down.
Sink And Dishwasher Flow
A smooth sink-and-dishwasher setup turns cleanup into a simple handoff, with the sink and dishwasher placed right next to each other, or with only a small strip of counter between them, so rinsing, scrubbing, and loading all happen in one easy flow.
Keep a small cleaning staging ledge by the sink, even if it’s just 12–18 inches, so you can scrape, rinse, and move on without extra steps.
Store soap, gloves, scrubbers, and liners in the first cabinet, and plan drawer placement so clean dishes and tools stay near the dishwasher.
Protect disposal access, keep trash close, and use the sink only for produce rinse and pre-wash.
That way, utensil separation stays simple, and your cleanup zone works with you, not against you.
Where to Store Plates and Pantry Items
For the smoothest kitchen workflow, store plates and everyday non-consumables in the cabinets or drawers closest to the dishwasher and main dining handoff, so clean dishes can move straight from washing to plate-out without cutting through the cooking zone. This is accessibility first storage, and it gives you room to move freely, not shuffle around clutter.
Keep pantry zoning boundaries clear by placing food in a separate, dedicated zone near your main entry or unloading path.
- Put daily plates at eye level or just below.
- Keep pantry staples between waist and shoulder height.
- Send bulk items and rare ingredients higher up.
- Use cabinets for plates, drawers for containers, and let food live elsewhere.
When you separate these zones, you speed up service, cut extra steps, and keep your kitchen calm, open, and ready.
Specialty Kitchen Zones for Real Life
Beyond the main prep, cook, and clean paths, your kitchen works even better when you carve out small specialty zones that fit real daily habits.
With coffee corner planning, place your coffee or tea bar near an outlet and close to the sink, or add a small bar sink, then use open shelves or glass-front storage for mugs and a drawer for filters and stirrers.
For Baking storage solutions, keep flour and sugar in pull-out bins, and store cake pans, loaf pans, and sheet trays in deep drawers so you don’t wrestle heavy bags or stack, unstack, and restack.
A mixer garage lifts your stand mixer to counter height, then hides it away.
If kids or guests need a spot, add safe low storage or seating zones too.